
Canning is a great way to preserve food for later consumption. In order to properly can foods, you need to have the right supplies and know how to prepare the jars. First, you will need to gather your canning jars, lids, and rings.
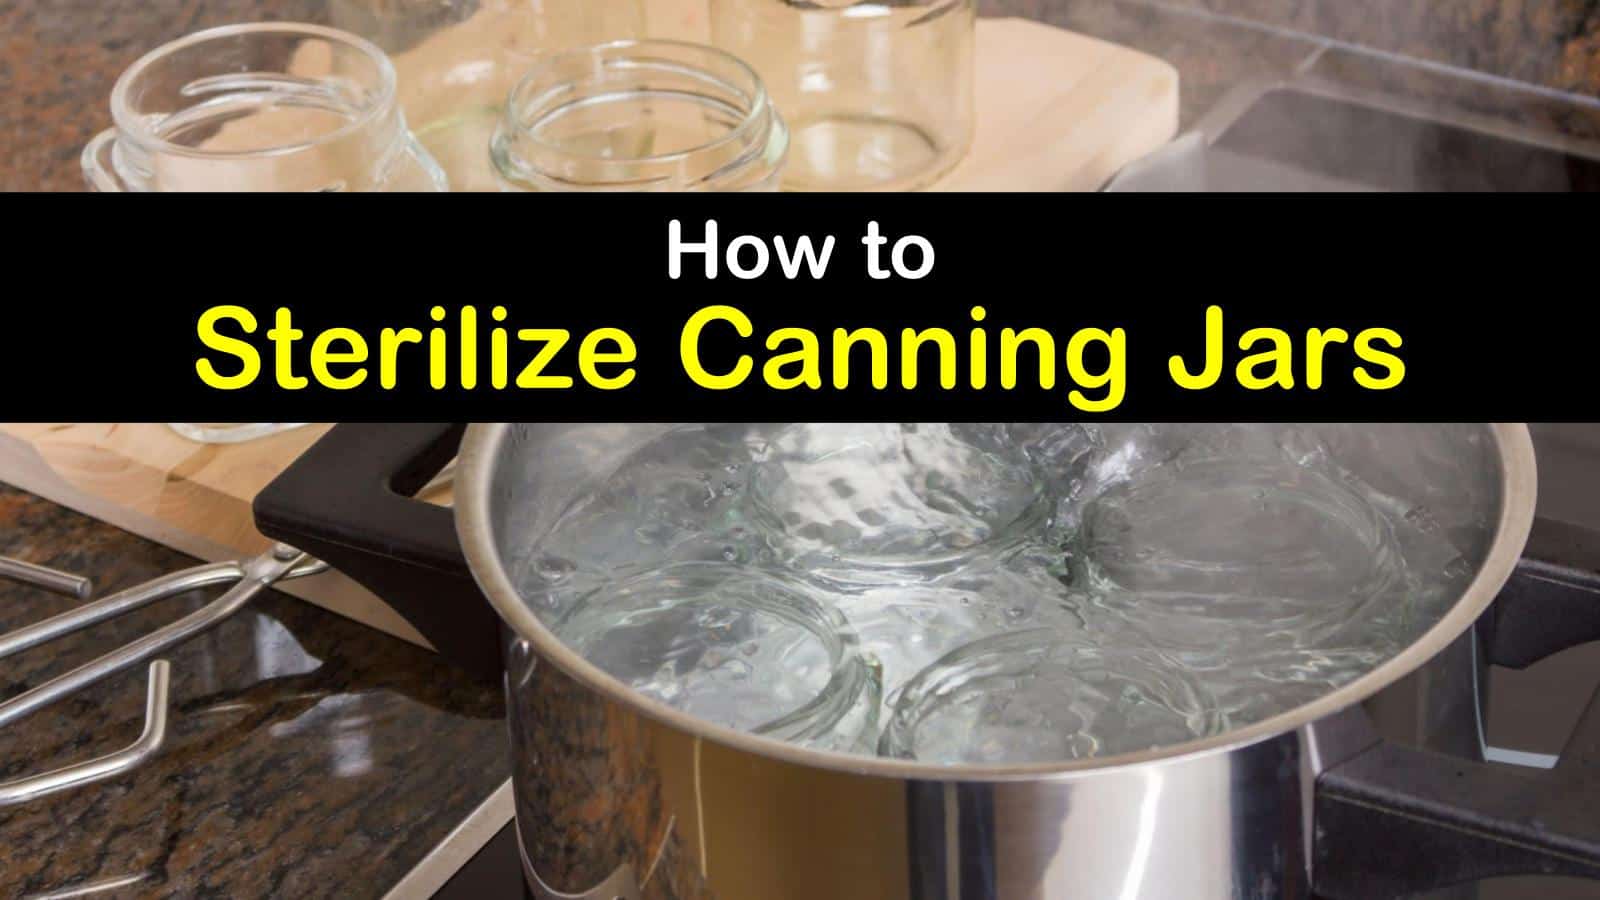
Make sure that the jars are clean and free of any cracks or chips. Next, you will need to sterilize the jars by boiling them in water for 10 minutes. Be sure to also sterilize the lids and rings by boiling them for 5 minutes.
Once everything is sterilized, you are ready to start canning!
How to Sterilize Canning Jars
If you’re new to canning, the process of preparing jars for canning may seem a bit daunting. But don’t worry! With a little practice, it will become second nature.
Here are some tips to help you get started.
The first step is to sterilize your jars. You can do this by boiling them for 10 minutes in a large pot of water.
Be sure to start with clean jars – wash them in hot, soapy water and rinse well before boiling.
Once your jars are sterilized, you’re ready to start filling them with your canned goods. Be sure to fill them up leaving about an inch of headspace at the top of the jar.
This allows room for expansion during the canning process and prevents food from being pushed out of the jar when it’s sealed.
Once your jars are filled, wipe the rims clean with a damp cloth and screw on the lids tightly. Then it’s time to start processing!
How to Prepare Jars for Canning Without a Canner
If you’re new to canning, the process of preparing jars for canning may seem daunting. However, it’s actually quite simple to do without a canner. All you need is a large pot and some basic kitchen supplies.
Here’s how to prepare jars for canning without a canner:
1. Start by sterilizing your jars. You can do this by boiling them in water for 10 minutes.
Alternatively, you can run them through the dishwasher on the hottest cycle.
2. Once your jars are sterilized, it’s time to fill them with whatever you’re wanting to preserve. Be sure to leave about an inch of headspace at the top of each jar.
3. Next, wipe the rims of your jars clean with a damp cloth or paper towel. This will ensure that the lids seal properly later on.
4 .
Now it’s time to apply the lids and rings to your jars . Be sure that the lids are lined up correctly and screw on the rings finger-tight .
Credit: www.tipsbulletin.com
How Do You Prepare Glass Jars for Canning?
If you’re new to canning, the process of preparing glass jars for canning may seem a bit daunting. But don’t worry – we’ll walk you through everything you need to know!
The first step is to make sure your jars are clean.
Wash them in hot, soapy water and then rinse well. You can also run them through the dishwasher on the hottest setting.
Next, sterilize your jars by boiling them for 10 minutes.
This will kill any bacteria that could potentially spoil your food.
Once your jars are clean and sterilized, it’s time to start filling them with your food! Be sure to leave about 1 inch of headspace at the top of each jar so that the food has room to expand during processing.
Once you’ve filled all of your jars, screw on the lids tightly and then place them in a boiling water bath for the appropriate amount of time (this will depend on what you’re Canning). This will help to seal the jars and ensure a safe, shelf-stable product.
And that’s it!
With just a few simple steps, you can successfully prepare glass jars for canning at home.
Do You Have to Boil Jars before Canning?
The short answer is no, you don’t have to boiling jars before canning. There are a couple different methods for sterilizing jars, and boiling is just one of them. You can also sterilize jars in the oven or using a dishwasher.
If you do choose to boil your jars, it’s important to make sure that they are fully submerged in the water. Boil them for at least 10 minutes to ensure that all bacteria has been killed. After boiling, remove the jars from the water with tongs and place them on a clean towel to dry.
Once your jars are sterilized, you can start canning! Canning is a great way to preserve food and extend its shelf life. With proper care and storage, canned foods can last for years.
Do You Need to Wash New Mason Jars before Use?
If you’re using new Mason jars for canning or storage, you don’t need to wash them first. The jars are sterile when they come out of the box, so there’s no need to clean them before use. However, if you’re using the jars for other purposes (like drinking), it’s a good idea to give them a quick rinse before use.
How Do You Prepare Mason Jar Lids for Canning?
If you’re planning on canning your own food at home, you’ll need to start with clean mason jars and lids. You can wash the jars and lids in your dishwasher, or wash them by hand in hot, soapy water. Rinse the jars and lids well after washing.
To sterilize the jars and lids, you can either boil them for 10 minutes or run them through a cycle in your dishwasher without detergent. If you choose to boil the jars and lids, make sure to put them in a large pot of boiling water so they don’t break. Carefully remove the hot jars and lids from the water using canning tongs or oven gloves, and set them upside down on a clean towel to dry.
Once your jars and lids are clean and sterile, you’re ready to start canning!
Conclusion
You canning jars need to be prepared before you use them to can foods. You need to wash the jars in hot, soapy water. Rinse the jars well and then sterilize them by boiling them for 10 minutes.
Be sure to have a jar rack in the bottom of your pot when boiling the jars so they don’t touch the bottom of the pot and crack. After boiling, keep the jars hot until you are ready to fill them with food.