
Before canning your jars, it’s important to make sure they are clean and sterilized. You don’t want any bacteria or other contaminants getting in there and ruining all your hard work! The best way to do this is to wash them in hot, soapy water and then rinse them well.
Then, you can either put them in the dishwasher on a hot cycle or boil them for 10 minutes. Be sure to let them dry completely before using.
- Choose the right jars for canning
- Canning jars come in two basic types: regular mouth and wide mouth
- Regular mouth jars are good for jams, jellies, and other fruits, while wide mouth jars are better for pickles, tomatoes, and other vegetables
- Wash your jars in hot soapy water to remove any dirt or residue
- Rinse well and let them air dry
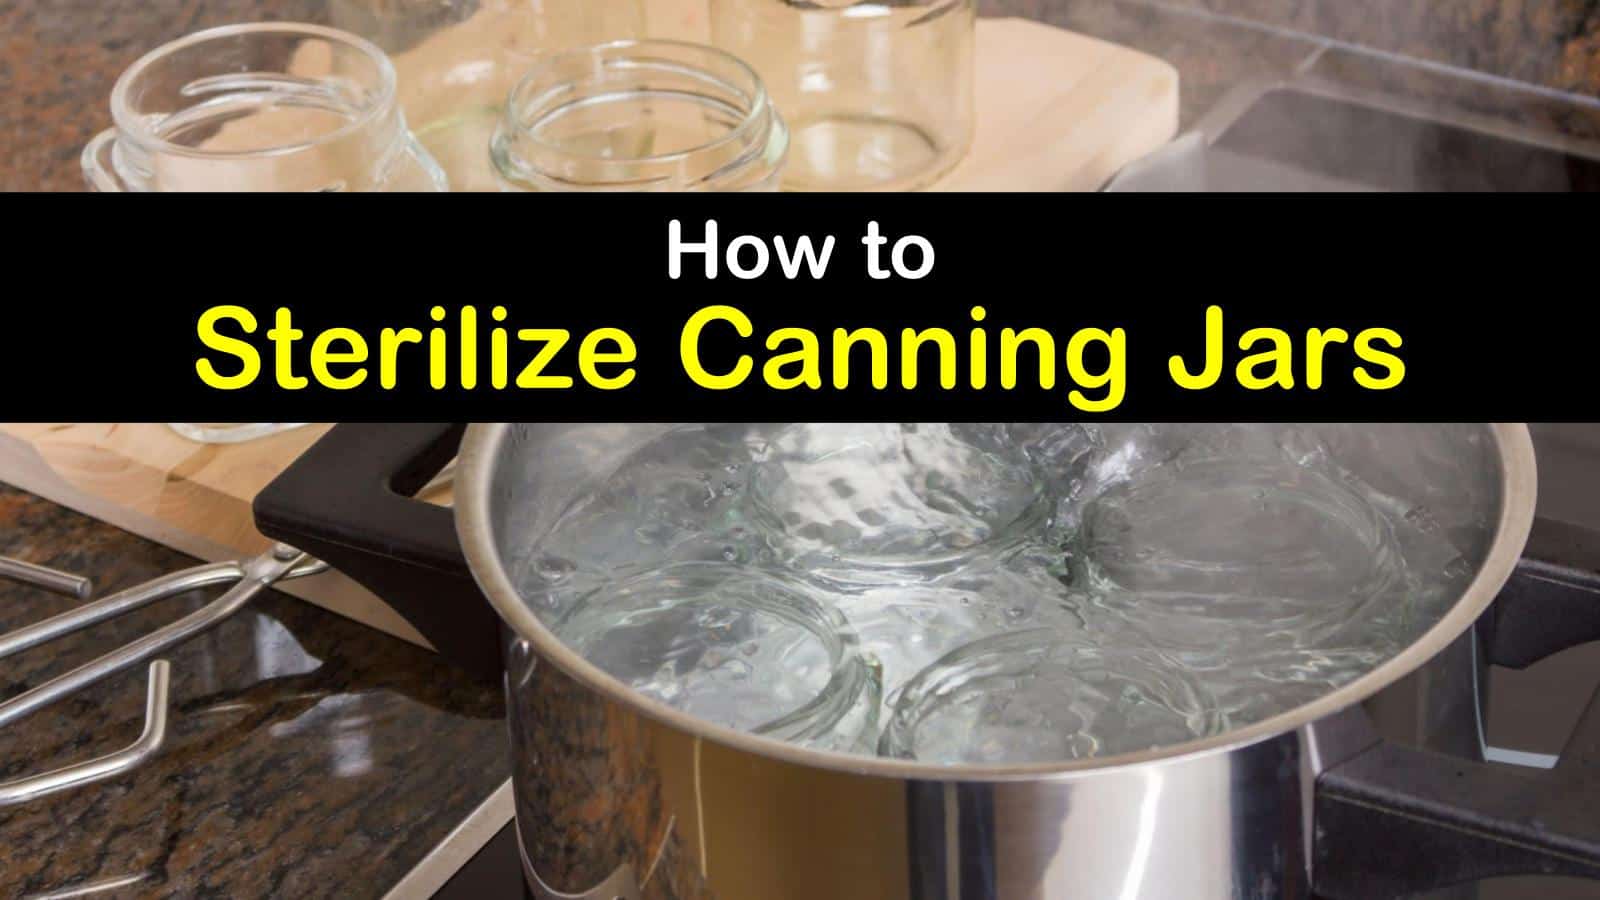
- Sterilize the jars by boiling them in a large pot of water for 10 minutes
- Be sure to use a canning rack to keep the jars from touching the bottom of the pot, which could cause them to break
- Fill the sterilized jars with your food item, leaving about 1/2 inch of headspace at the top of each jar
- Use a non-metallic utensil to remove any air bubbles that may be present
- 5 Cap the jars with new lids that have been simmered in hot water for a few minutes to soften the sealing compound around the edge
- Screw on the rings until they are “fingertip tight
- ” 6 Process the filled jars in a boiling water bath canner according to your recipe’s instructions
How to Sterilize Canning Jars
How Do You Prepare Jars for Canning?
If you’re new to canning, the process of preparing jars for canning may seem a bit daunting. But don’t worry – it’s actually quite simple! Here’s a step-by-step guide to get you started.
1. Start with clean jars. Whether you’re using new or recycled jars, make sure they’re clean and free of any nicks or cracks. Wash them in hot, soapy water and rinse well.
2. sterilize the jars. To sterilize, simply boil the jars for 10 minutes. You can also run them through the dishwasher on the hottest setting (without detergent).
3. Fill the jars with your food item, leaving about ½ inch of headspace at the top of each jar. Headspace is important because it allows room for expansion during processing and prevents vacuum seals from forming too tightly on the jars.
4. Remove any air bubbles by running a non-metallic spatula or chopstick around the inside of each jar several times before sealing.
This will help ensure a good seal when processing.
5. Wipe the rims of each jar with a damp cloth to remove any food residue or fingerprints which could prevent proper sealing later on.
6 .
Place lids on each jar, screwing on rings until they’re just finger-tight – don’t over tighten! 7 . Process according to your recipe instructions (usually this means boiling in a water bath canner for 10-15 minutes) 8 .
Do You Have to Boil Jars before Canning?
No, you don’t have to boil jars before canning. Boiling the jars is actually only necessary if you’re going to be water bath canning. Water bath canning is a method of preserving food in which the food is sealed in a jar and then placed in boiling water for a certain amount of time.
The boiling water kills any bacteria that may be present in the food or on the jar, and this prevents the food from spoiling. If you’re pressure canning, however, boiling the jars is not necessary. Pressure canning is a method of preserving food in which the food is sealed in a jar and then placed in a pressure cooker.
The high pressure inside the cooker kills any bacteria that may be present in the food or on the jar, and this prevents the food from spoiling.
Do You Need to Wash New Mason Jars before Use?
If you’re planning to use your Mason jars for canning, it’s important to wash them before use. This will remove any dirt, dust or residue that may be on the surface of the jar. To wash your jars, simply place them in your dishwasher and run a normal cycle.
If you don’t have a dishwasher, you can hand-wash the jars using hot, soapy water. Be sure to rinse the jars well and let them air-dry before using them.
How Long Do You Boil Lids for Canning?
It is important to sterilize canning jars and lids before using them. This will help to prevent bacteria from contaminating your food. Boiling is the most common way to sterilize canning jars and lids.
You should boiling the canning jars for 10 minutes, and then keep them in hot water until you are ready to use them. You only need to boil the lids for a few minutes, just long enough to soften the rubber seal.
Credit: www.tipsbulletin.com
How to Prepare Jars for Canning Without a Canner
Canning is a great way to preserve your food, but you don’t necessarily need a canner to do it. If you have some Mason jars and a large pot, you can still can your food without any special equipment. Here’s how to do it:
1. Start by sterilizing your jars. You can do this by boiling them in water for 10 minutes.
2. While the jars are boiling, prepare your food for canning.
This could involve cooking or chopping it up into smaller pieces.
3. Once the jars are sterilized, start filling them with your prepared food. Leave about an inch of headspace at the top of each jar.
4. To seal the jars, simply screw on their lids tight and then invert them so that the lid is facing down. The heat from boiling will cause the lid to seal itself shut.
5. Boil the sealed jars in water for about 30 minutes to finish the canning process.
After they’ve cooled, store them in a cool, dark place and they should keep for several months (if not longer).
How to Prepare Jars for Canning in Oven
If you’re planning on canning your own fruits or vegetables, you’ll need to start with sterilized jars. Canning involves sealing food in airtight jars, so it’s important to make sure that the jars are free of any bacteria before you begin.
One way to sterilize jars is to wash them in hot, soapy water and then rinse them well.
You can also run them through the dishwasher on the hot cycle. Once the jars are clean, place them upside down on a baking sheet and put them into a preheated oven at 225 degrees Fahrenheit for at least 30 minutes.
After the allotted time has passed, carefully remove the baking sheet from the oven using oven mitts or tongs.
Place the hot jars on a towel or cooling rack until they’re cool enough to handle. At this point, you’re ready to fill your sterilized jars with whatever canned goods you desire!
How to Prepare Jar Lids for Canning
If you’re new to canning, or even if you’ve been doing it for awhile, there’s always a chance that your jar lids aren’t sealing properly. Luckily, it’s easy to test and fix this problem so that your food will be properly preserved.
Here’s what you need to do:
1. Start by making sure your jars and lids are clean. Any dirt or grease on the surface can prevent a proper seal from forming. Wash everything in hot, soapy water and rinse well.
2. Next, check the rims of the jars for any nicks or cracks. These can also prevent a good seal from happening. If you find any damage, throw out the jar and start over with a new one.
3. Once your jars and lids are clean and undamaged, it’s time to prepare the lids for canning. This step is important because it helps create a vacuum seal that will keep your food fresh longer. To prepare the lids, simply place them in boiling water for about 10 minutes.
Then remove them with tongs and set them aside to cool until they’re ready to use.
4. Now you’re ready to fill your jars with whatever food you’re preserving! Be sure to leave enough headspace at the top of each jar (typically 1/2 inch), so that the lid has room to seal properly without being pushed down too far into the food itself.
5 .Once all of your jars are filled, screw on the lids tight but not overly tight – just until they’re snug against the glass rim . Then place all of your jars in a boiling water bath for the amount of time specified by your recipe .
This step is crucial in order to kill any bacteria present in the food and create a vacuum seal . Boil for 10 minutes if using pint-sized jars , 15 minutes if quarts , 20 minutes for half-gallons .
How Long to Boil Jars for Canning
If you’re planning on canning your own fruits or vegetables, it’s important to know how long to boil jars for canning. The boiling process helps to seal the jars and prevents contamination.
Generally, you’ll want to boil your jars for about 10 minutes.
This should be enough time to properly seal the jars and kill any bacteria that may be present. If you’re at a high altitude, you may need to boil the jars for a bit longer.
Once the jars have been boiled, they can be stored in a cool, dark place until ready to use.
When you’re ready to use them, simply remove the lid and enjoy your homemade canned goods!
Sterilizing Canning Jars in Dishwasher
If you’re planning on canning your own fruits and vegetables, it’s important to start with clean and sterilized jars. Some people choose to sterilize their jars in a boiling water bath, but you can also sterilize them in your dishwasher.
Here’s how to do it:
1. Start by running your dishwasher on the hottest cycle with no detergent. This will help to remove any food particles or grease that might be on the jars.
2. Once the cycle is complete, place the jars upside down on the top rack of the dishwasher.
Make sure they’re spaced out so that hot water can circulate around them.
3. Run another cycle on the hottest setting. The jars should now be sterile and ready for use!
How to Sterilize Jars for Pickling
Sterilizing jars for pickling is a simple process that can be done in the dishwasher or by boiling them on the stove. If you plan to sterilize your jars in the dishwasher, simply run them through a cycle with hot water and detergent. If you prefer to boil your jars, simply place them in a large pot of boiling water for 10 minutes.
Be sure to have a lid for the pot that is slightly larger than the pot itself so that the jars can be completely submerged.
Once your jars are sterilized, it is important to keep them clean and free of debris before using them. Pickling involves submerging food in an acidic solution, so any dirt or bacteria on the jar could contaminate the food.
Be sure to wash your hands thoroughly and use clean utensils when handling the jars.
If you are new to pickling, there are many resources available to help you get started. The National Center for Home Food Preservation is a great resource for recipes and tips on safe canning practices.
Do You Need to Sterilize Jars for Pickling
When it comes to pickling, there are different schools of thought on whether or not you need to sterilize jars. Some say that as long as you’re using fresh ingredients and boiling the pickling mixture, sterilization isn’t necessary. Others believe that taking the extra step to sterilize jars is worth the peace of mind.
If you’re leaning towards sterilizing your jars, there are a few different methods you can use. One popular method is to wash the jars in hot, soapy water and then rinse them well. Next, place the clean jars upside down on a baking sheet and put them in a preheated oven at 225 degrees Fahrenheit for about 10 minutes.
This will help to kill any lingering bacteria.
Once your jars are out of the oven, carefully pour boiling water into each one and then let them sit for a few minutes before draining. Be sure to fill the jars all the way to the top so that no oxygen is left inside which could lead to spoilage.
At this point, your jars should be sterile and ready for use!
Sterilizing Jars for Canning Tomatoes
As the weather gets warmer, thoughts turn to canning tomatoes. Whether you grow your own tomatoes or buy them at the farmer’s market, canning is a great way to enjoy their flavor all year long.
Before you start canning, it’s important to sterilize your jars.
This will help to prevent any bacteria from contaminating your food. There are several ways to sterilize jars:
-You can wash them in hot, soapy water and then rinse them well.
Place the jars upside down on a clean towel and let them air dry.
-You can also place the jars in a large pot of boiling water for 10 minutes. Remove them carefully with tongs and place them upside down on a clean towel to air dry.
-If you have a dishwasher with a sanitize cycle, that will also do the trick! Just make sure to run the empty jars through an extra cycle without detergent before adding your food.
Once your jars are sterilized and dry, you’re ready to start canning!
Conclusion
In canning, jars are sterilized to prevent spoilage of the contents. There are two methods for doing this- boiling and using a dishwasher. Boiling is the most common method, as it is less expensive and easier to control than using a dishwasher.
To boiling method, fill a large pot with water and place the jars in the pot. The water should cover the jars by at least an inch. Bring the water to a boil and let the jars boil for 10 minutes.
Remove the jars from the pot with canning tongs and set them on a towel to cool.
To use a dishwasher, place the empty jars on the top rack of your dishwasher and run it on its hottest cycle. When the cycle is finished, remove the jars from the dishwasher with canning tongs and set them on a towel to cool.