
Sealing a mason jar is a simple process that can be done with a few supplies. You will need a mason jar, lid, and sealer. The first step is to clean the jar and lid with warm soapy water.
Rinse the jar and lid thoroughly and allow them to dry. Next, you will need to prepare the sealer according to the manufacturer’s instructions. Once the sealer is ready, apply it to the rim of the jar.
Be sure to evenly coat the entire rim. Finally, place the lid on the jar and screw on the ring until it is tight. Allow the sealed jar to sit for 24 hours before use.
- Gather your supplies
- You will need a Mason jar, a lid, and some sort of sealant
- Twine or ribbon are optional but can add a nice touch
- Clean the jar and the lid
- Make sure they are both free of dirt and debris
- Apply the sealant to the rim of the jar
- You can use a brush or your finger to do this
- Place the lid on the jar and screw it on tight
- 5-Optional: Tie some twine or ribbon around the neck of the jar for decoration
Sealing Canning Jars Hot Water Bath
How to Seal a Mason Jar Without Boiling
There are a few different ways that you can seal a mason jar without boiling it. One method is to use a food-grade sealant. This can be found at most hardware stores.
Another way is to use paraffin wax. This is the same type of wax that is used to make candles. You will need to melt the wax and then pour it over the opening of the jar.
The third way is to use a vacuum sealer. This will remove all of the air from the jar and create an airtight seal.
How to Seal a Mason Jar in Boiling Water
Sealing a mason jar in boiling water is a simple process that can be used to preserve food. The boiling water creates a vacuum seal that will keep the contents of the jar fresh for an extended period of time. To seal a mason jar in boiling water, simply fill the jar with whatever you wish to preserve, leaving about 1 inch of headspace at the top of the jar.
Next, place the lid on the jar and screw on the ring until it is tight. Finally, place the jars in a pot of boiling water, making sure that they are completely submerged. Boil for 10 minutes, then remove from the heat and allow to cool completely before storing.
How to Vacuum Seal Glass Jars at Home
Vacuum sealing glass jars at home is a great way to keep your food fresh and extend its shelf life. Plus, it’s super easy to do! All you need is a vacuum sealer and some glass jars.
Here’s how to vacuum seal glass jars at home:
1. Fill your jar with whatever you want to store. Make sure the lid is on tight!
2. Place the jar in the vacuum sealer.
3. Seal the jar according to your vacuum sealer’s instructions.
4. That’s it!
Your jar is now sealed and ready for storage.
How to Seal Glass Jars at Home
When canning at home, it is important to make sure that your jars are properly sealed. If not done correctly, the food inside the jar can spoil and cause illness. There are two methods for sealing glass jars at home: water bath canning and pressure canning.
Water bath canning is best for high-acid foods like fruits and pickles. To do this, simply fill your jars with the food you wish to preserve and cover them with boiling water. Put a lid on each jar and screw on the ring until it is tight.
Place the jars in a pot of boiling water, making sure they are covered by at least an inch of water. Boil for the time specified in your recipe. Remove the jars from the pot and let them cool; you will know they are sealed when you hear a popping sound as the lids seal themselves shut.
Pressure canning is necessary for low-acid foods such as vegetables, meat, and seafood. This method uses steam under pressure to destroy bacteria that could cause food poisoning. Fill your jars with food as usual, but leave about an inch of headspace at the top of each jar.
Tighten on the lids and rings finger-tight only; do not over tighten or use tools to do this step! Place all of the filled jars into your pressure canner according to manufacturer’s instructions – typically, this means adding 2-3 inches of water to the bottom of the pot before adding your racks and placing your jars on top. Close up your pressure cooker according to instructions, turn up heat to medium-high, and wait until steam begins escaping from vent (this may take 10-15 minutes).
Once steam starts coming out steadily, set a timer according to manufacturer’s directions – 20 minutes for pint size jars or 25 minutes for quart size ones – start counting time only after full pressure has been reached inside cooker . When time is up , open vent slowly according to manufacturer’s recommendations (usually this just means turning valve), allowing all steam escape before opening lid . Carefully remove jars from cooker using oven mitts or tongs , being careful not spill any liquid contents onto yourself .
Let cool undisturbed on countertop or table ; you should hear little “pings” as lids seal themselves during this process .
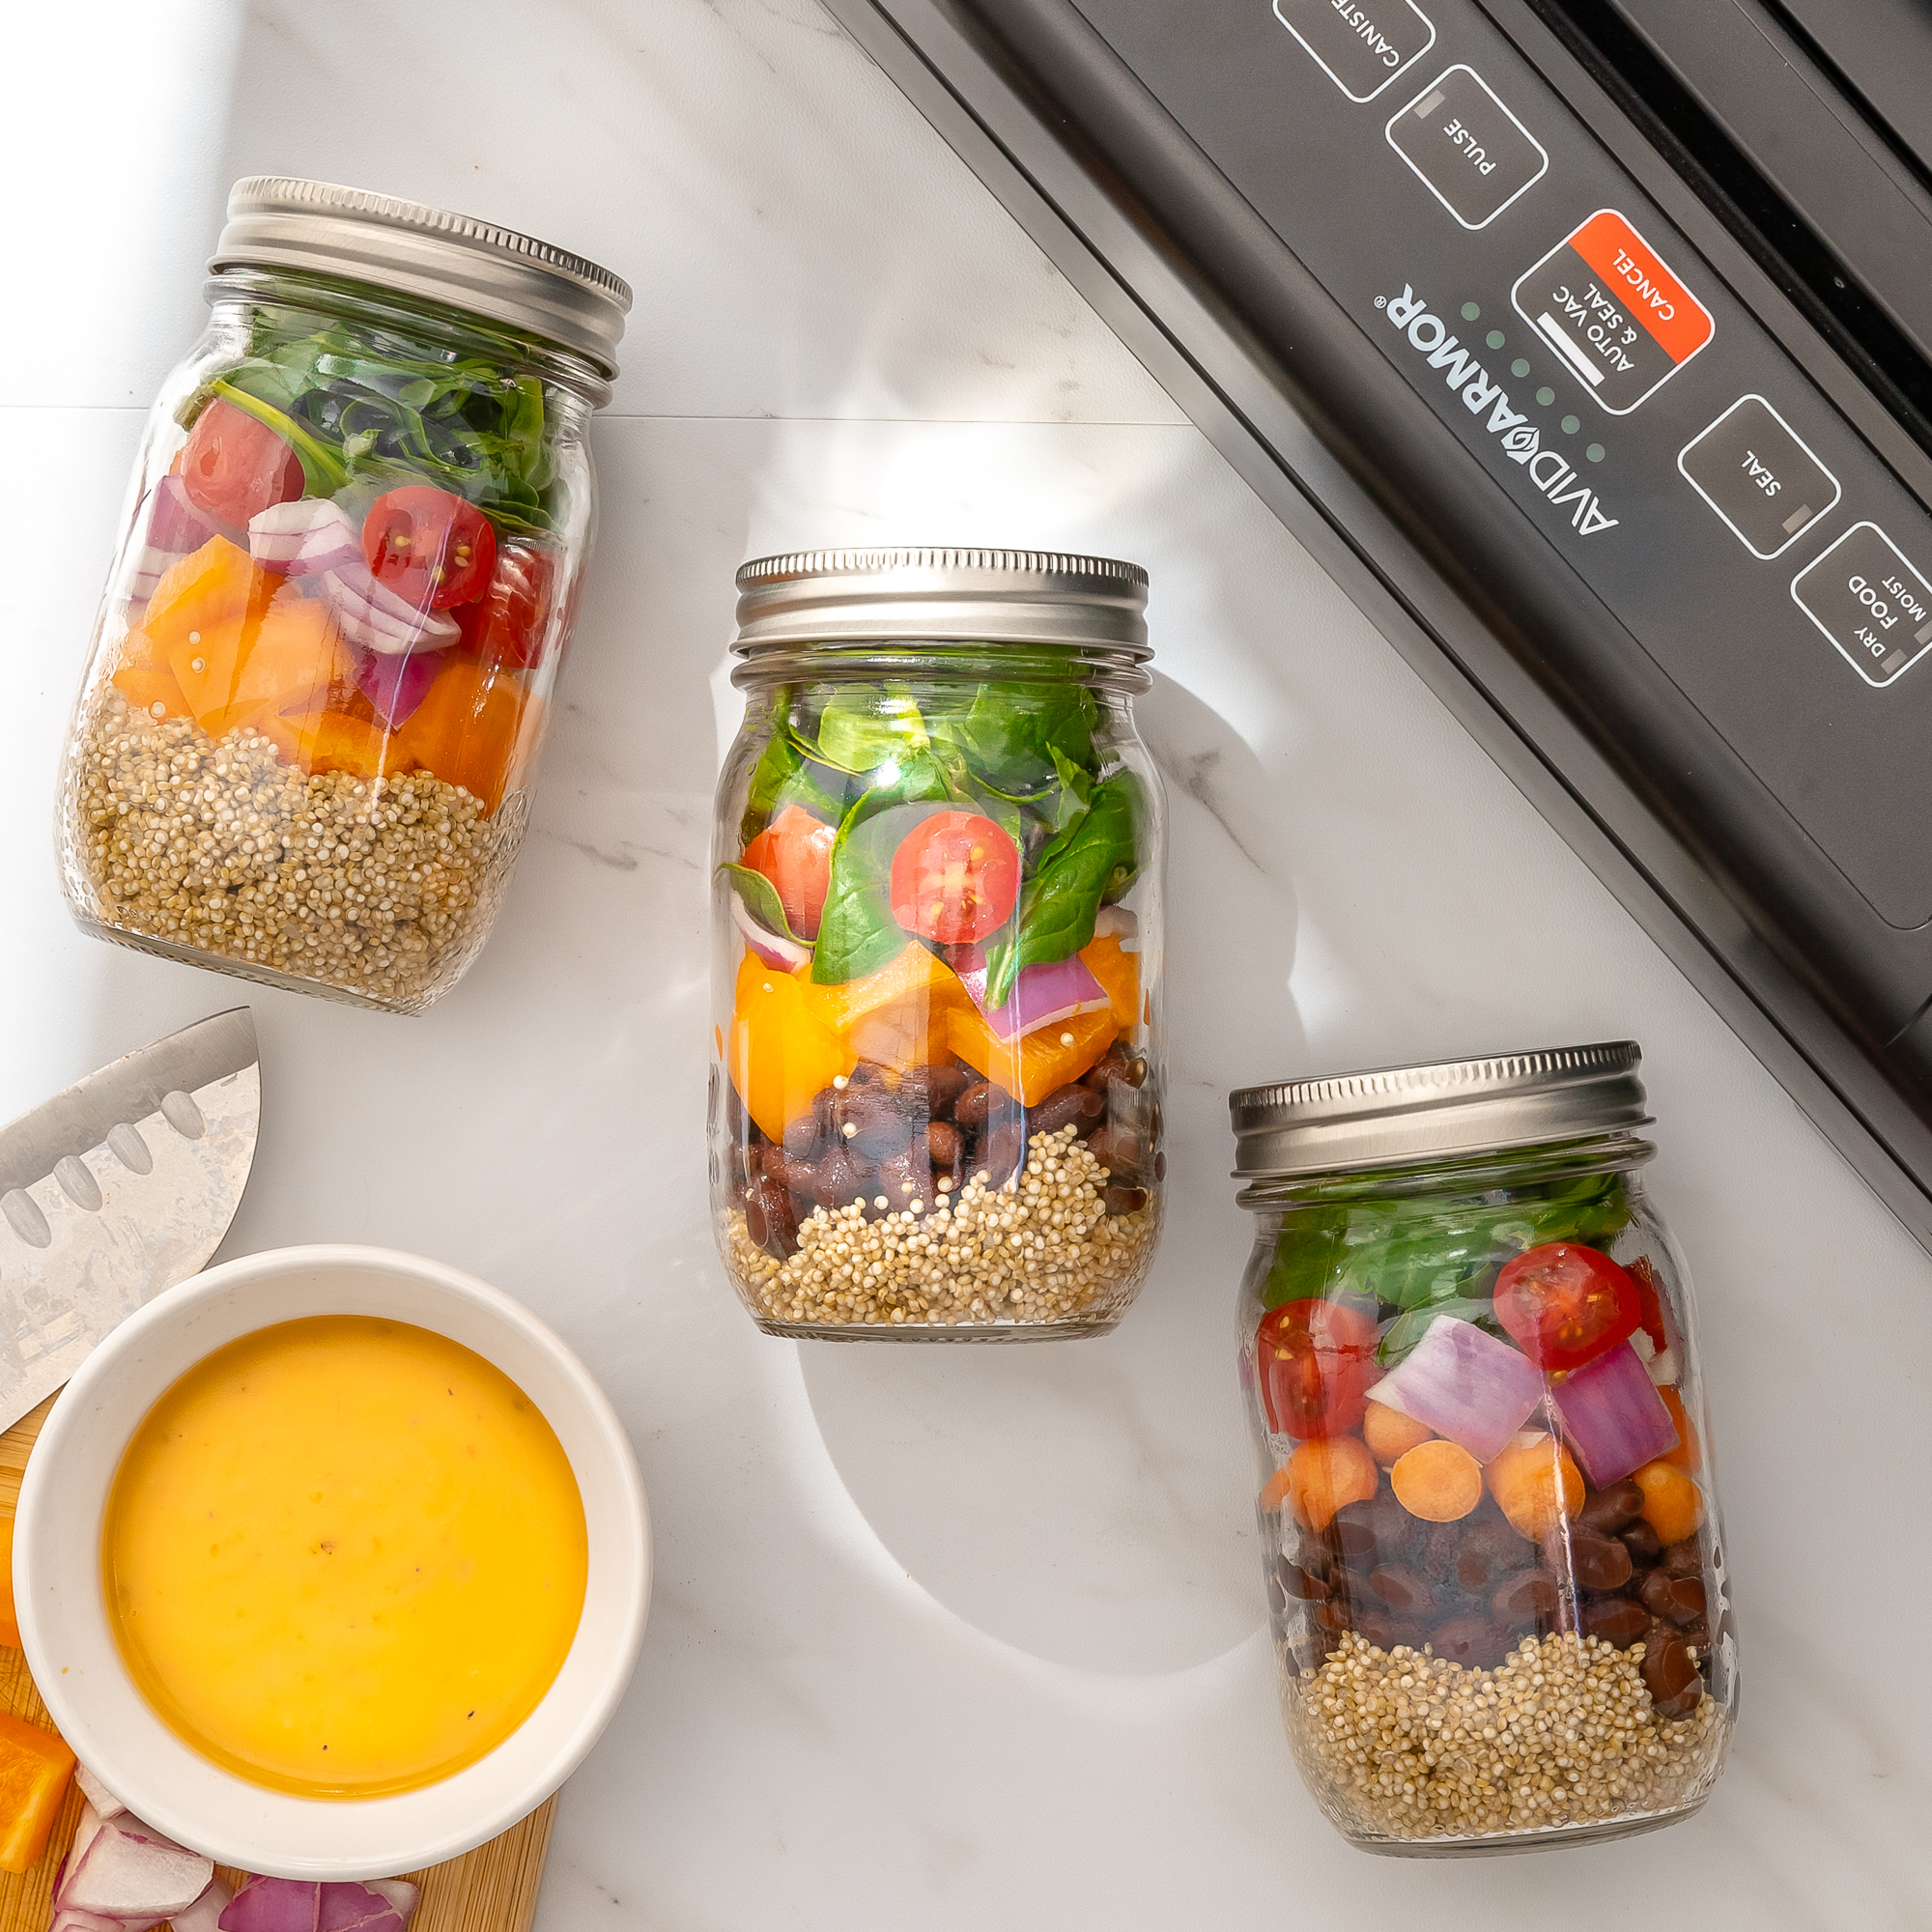
Credit: avidarmor.com
How Do You Properly Seal a Mason Jar?
If you’re planning on doing any canning this summer, you’ll need to know how to properly seal a Mason jar. Canning is a great way to preserve food for later consumption, and it’s not as difficult as you might think. Here’s a step-by-step guide to sealing your jars correctly.
Start by making sure your jars are clean. Wash them in hot, soapy water and then rinse well. You can also sterilize them by boiling them for 10 minutes.
Next, prepare your canning lids according to the manufacturer’s instructions. This usually involves heating the lids in boiling water for a few minutes.
Now it’s time to fill your jars with whatever you’re going to be preserving.
Leave about 1/2 inch of headspace at the top of each jar. Be sure to remove any air bubbles that may have formed during filling by running a knife or other blunt object around the inside of the jar.
Once your jars are full, wipe the rims clean with a damp cloth and place the lids on top.
Screw on the screw bands until they’re finger-tight – don’t over tighten!
Place your filled and sealed jars in a large pot of boiling water, making sure they’re covered by at least an inch of water. Boil for the amount of time specified in your recipe (usually between 5 and 10 minutes).
Do You Have to Boil Mason Jars to Seal Them?
If you’re canning at home, you don’t need to boil the jars first – just wash them well with hot, soapy water and rinse them thoroughly. You will, however, need to sterilize the lids by boiling them for 10 minutes.
How Do You Make a Mason Jar Airtight?
Mason jars are airtight by design. The screw-on lid creates a seal that prevents air from entering or leaving the jar. This makes Mason jars ideal for storing food and other items that need to be kept fresh.
There are a few things you can do to ensure your Mason jar is airtight.
First, make sure the lid is screwed on tight. If it’s not, air can enter the jar and cause the contents to spoil.
Second, check the seal around the edge of the lid. If it’s cracked or damaged in any way, air can get in and ruin your food. Finally, if you’re still having trouble getting a good seal, try using a mason jar lid with a rubber gasket.
These lids create an even tighter seal than regular lids and will keep your food fresh for longer periods of time.
How Do You Seal a Mason Jar With Boiling Water?
If you’re looking for a quick and easy way to seal a mason jar, boiling water is the way to go. All you need to do is boil some water on the stovetop and then carefully pour it over the lid of the jar. Make sure that the entire circumference of the lid is covered with boiling water.
Let it sit for a few minutes and then check to see if the lid is sealed. If it’s not, repeat the process.
Conclusion
Sealing a mason jar is a simple process that can be done with just a few supplies. You will need a mason jar, a lid that fits the jar, and some sealing wax. You can buy sealing wax at most craft stores or online.
To seal the jar, simply heat the wax in a pot on the stove until it is melted. Then, holding the lid on the jar, pour the wax around the edge of the lid. Be sure to go all the way around so that the entire circumference of the lid is covered in wax.
Allow the wax to cool and harden before storing your food in the sealed jars.